

You now have a cutting machine and want to make a sign! Where do you start? It can be overwhelming figuring out what project to make first. You want to make a professional looking sign, with crisp, no bleed paint marks. Let’s pour a glass of wine, or refill your coffee and let’s get started!
3 Steps.
- Create and Cut your Stencil
- Weed Your Stencil, Use Transfer Tape and Attach to Sign.
- Paint Your Sign
In each of these steps, there are going to be more steps! However think of it as three separate tasks, it will feel less overwhelming. Refill your glass between the steps, and you’ll be a professional sign maker in no time! I’ve broken down these steps in stress levels, wine consumption and amount of time needed for each.
First Time Sign makers:
- High Stress
- 3 hours (includes drying time)
- Half- Full Bottle
Pro Sign Makers
- Low Stress
- 2 Hours (includes drying time)
- Half a Bottle
Before we can even thing of starting, make sure you have the following supplies.
Supplies:
- Vinyl for stencil ( I prefer Oracle 631 or Oramask 831)
- Silhouette cameo (if you do not have a machine you can buy Stencils off Etsy, Marketplace and local Craft stores)
- Wood sign (any size!) I am using a 15.5″ x 11.5″
- Paint ( one colour to match your background, one colour for the stencil)
- Painters tape
- Transfer tape
- Wax or Varethane (optional)
Step 1: Create and Cut Your Stencil.
Low stress, half a glass of wine, 10+ minutes depending on your design.

Decide what sign you want to make! There are so many great ideas out there. Deciding on the exact sign or saying can be the most difficult part of the whole process.
You can find great files off of Etsy or directly from the artist or designer. Creating your own with Silhouette Studio can be super simple and very satisfying! I do find a glass of wine does help with the creative process.
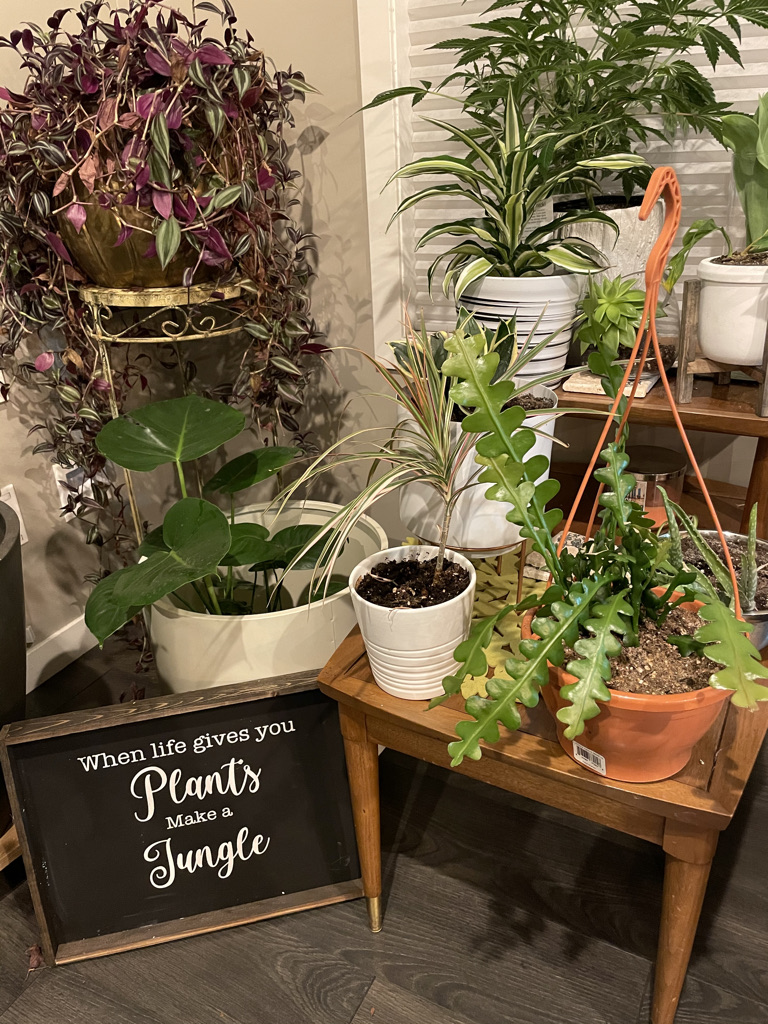
Today I am going to make a sign to accent my plant corner. Because when a pandemic hits.. hoard plants! If you do not want to create your own, I’ve attached my template below. Upload into your software, then trace for cutlines.
When Life Give You Plants. Make a Jungle
The board I will be using is 15.5″ W x 11.5″ T . I change my media size on the program to be the same size of my board. This gives me a great visual of how the sign will look once finished. Once I am happy with the size and proportion of the lettering or design, I later adjust the media size to match the actual size of my vinyl.
Having a sign that is centred is so important. To put all the work into it, then realize its crooked, is so frustrating! So here is my work around to ensure that never happens! Create 4 thin rectangles, that will used as guides when you put your stencil on your board.
I create one small rectangle, then copy it 4 times. I then go over to the left side tool bar and select Transform.
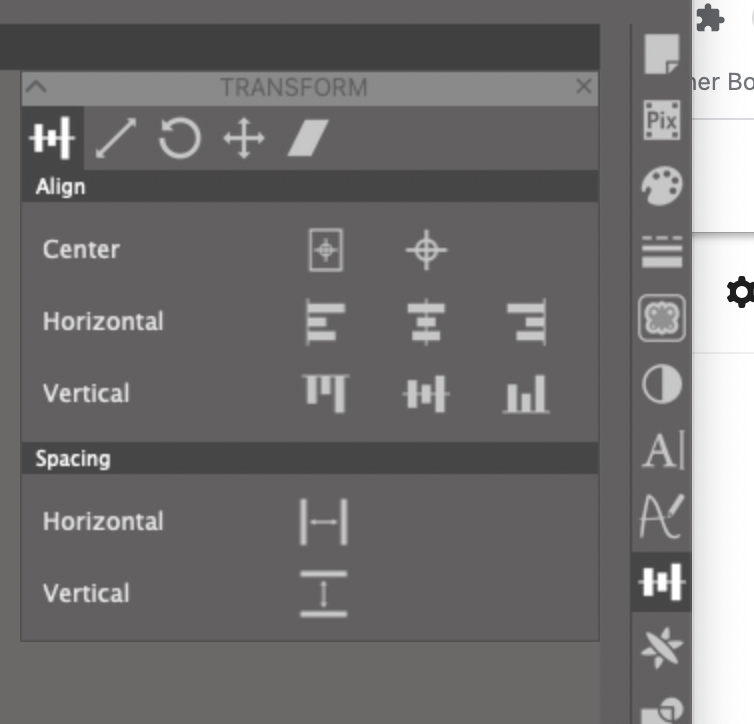
- TOP circle needs horizontal middle icon.
- Bottom circle click horizontal middle icon.
- Left circle click horizontal left.
- Right circle click horizontal right.
Because you already made your media the size of your board, this will allow for perfect alignment on your board.
It’s time to change your page setting to match the size of your vinyl. Click Page Setup on left tool bar. Since I will be using a roll, I am changing Cut Mat to NONE. And my sign size is smaller than a 12×12, so am leaving media size to the the auto size of 12×12.
When I first started, I would try and save every scrap, area or opportunity to have the vinyl go further. What I have learnt over the years… don’t be cheap. Its never worth it! When you make your stencil too small you run the risk of painting over it, stuggle with line up and have a bunch of scrap vinyl leftover that you may never use.
NOW!! Don’t go throwing out all your scraps! You still need small pieces for different projects. You can still make your stencil smaller then your media and line it up, especially when what you are painting takes up less than 50% of the surface. Just don’t be cheap for the sake of being cheap. Its never worth it!
Step 2: Weed Your Stencil, Use Transfer Tape and Attach to Sign.
Medium to high stress, full glass of wine, 30+ minutes. Weeding is the easy part, the transferring to the sign is where you feel a little anxious.
Its time to send the file to my silhouette. If you took a long time to design, it might be time to top off your glass. If your stress level was low, you might only be half way through your glass at this point, so take a celebration sip.
Hit send at the top right hand corner. I’ve selected Vinyl, Silhouette Oracle 651. I do not need to reverse this, send as is.
Once the machine is done, DO NOT UNLOAD until you have tested that it has cut through the vinyl. If you find it’s not cut cleanly you can ‘repeat job’ and have the machine do a second round. If you do remove it there is no way to realign, so always test before unloading.
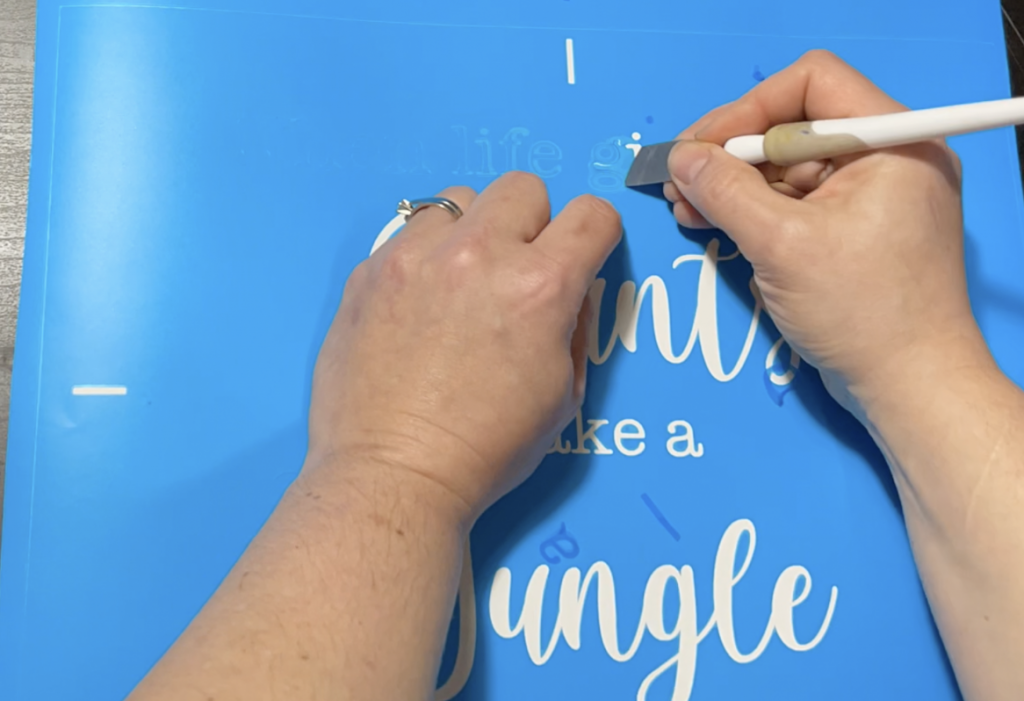
Remove from cutter and start weeding! Take your time with this. Remove the areas where you want paint, keeping the vinyl where your background will show through. I use a weeding tool and tweezers. Sometimes the small parts of a letter come up, the tweezers help you put it back in place.

Use your transfer tape to cover your stencil. Cut out a piece that is the same size, or slightly smaller. Adhere the transfer tape to your stencil and use a roller or scraper to push the transfer tape into the stencil. You want the tape to pick up all the small pieces, leaving non of the small details behind.
Tranfer Tape Best Practice: Most transfer tape is quite sticky, almost too sticky! I will take a new sheet of transfer tape, and before adhering to my stencil, I will use it to pick up any lint or dog hair (because its everywhere!) on my sign. It picks up small particles as well as reduces the tackiness just enough that I do not struggle to pull the transfer tape off the actual stencil once its applied to my project. Fresh transfer tape can pull off a good stencil, so dulling the stickiness down helps!

Once the transfer tape is on. You should have three layers. Transfer tape, stencil/vinyl and lastly backing. Flip this over so backing side is up. Start to peel off paper backing. For best results, making sure all the vinyl leaves the backing, pull backing at a sharp angle, almost dragging a flush to the table, pulling away from the vinyl. If any vinyl sticks to backing, use tweezers to help flip back onto transfer tape.
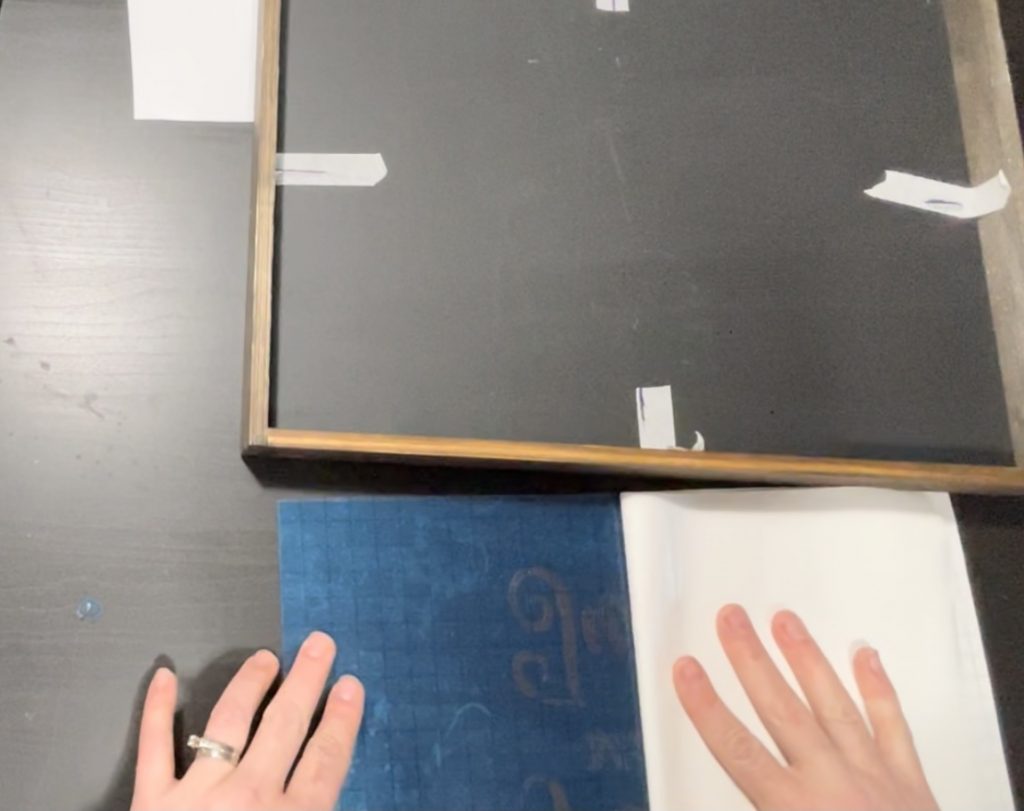
With the two layers ( vinyl and tape) you can now adhere to your sign or project! Use the line up marks/holes to line up with your sign. Once you are happy with the placement, press down and starting rolling or pressing down with your tool. Once firmly pressed down, carefully pull back your transfer tape, the same way you pulled your paper backing off.

Once tape is removed, go over stencil one more time to ensure its pressed down firm.
This is where I get stressed. Worried about the stencil coming up! Take your time and press hard before removed the tape. I will now pour myself a second glass.
Step 3: Paint Your Sign
Medium stress, top off your wine, 5-10 minutes of painting with 1-2 hours drying time in-between coats.
Now the next step might sound strange… and will look weird. If you want CRISP and CLEAN lines! You do not want to miss this step! You are going to paint your stencil twice, with two different colours. The first paint layer will be the EXACT colour of your background. In my case, the background is black. My first coat on the stencil is with black paint.
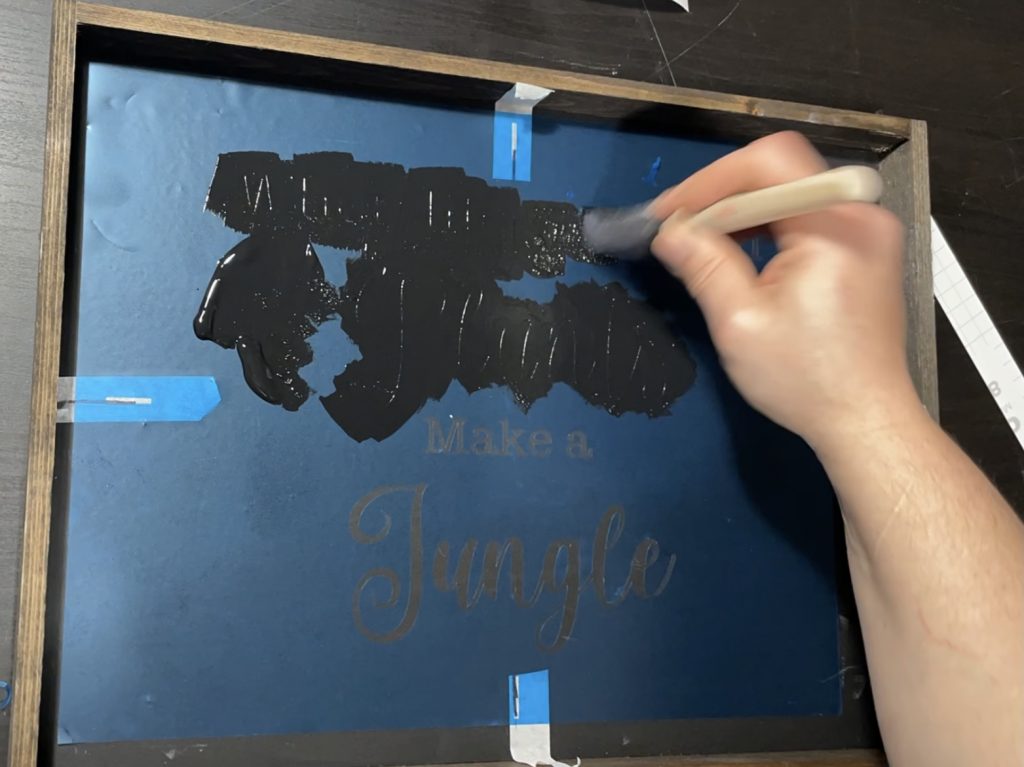
Why??? Well this seals the stencil to the board, and any bleeding that might happen, now happens to match your background. So you never see it! I have also used Modge Podge over the years, its also works. However I find using the same paint has a cleaner finish! Let this completely dry.
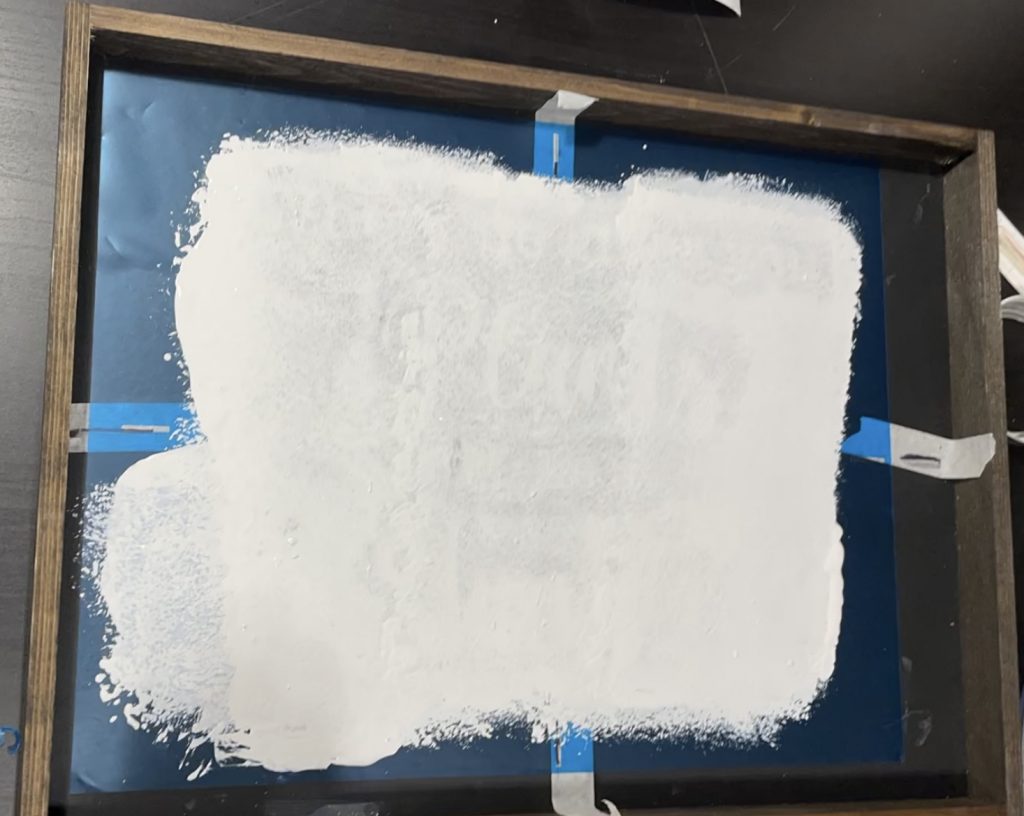
Once dry, now its time to add your chosen font colour. I like using a small roller, I find you get the most consistent coverage this way. However a spong brush works great too! Depending on the look you are going for, you may want to give it a second coat. Wait till dry to touch, then add second coat.

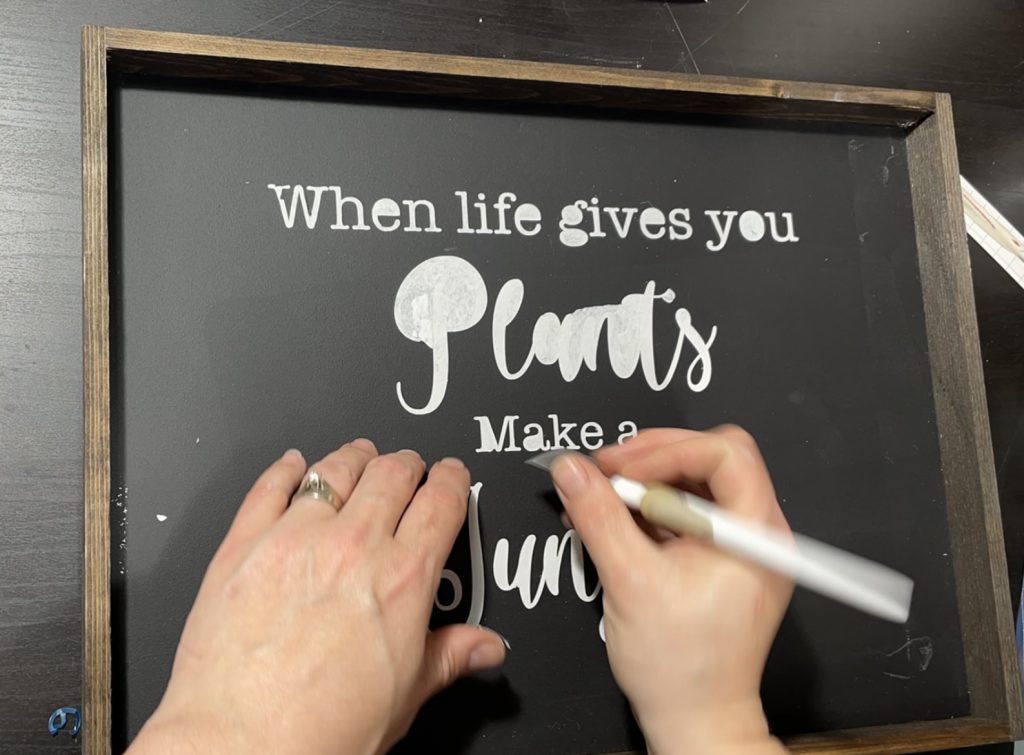
Let his dry for two hours. Once you are confident there are no wet spots, you can now remove your stencil! I like to use tweezers to help remove the small pieces.

Seal your sign if needed and grab a glass of wine to celebrate!

Take pics and post on your IG to show up your awesome talent! Don’t forget to tag us! We would love to see your awesome work!
2 comments